The Compost Conundrum: From Sludgy Slime to Gardening Gold
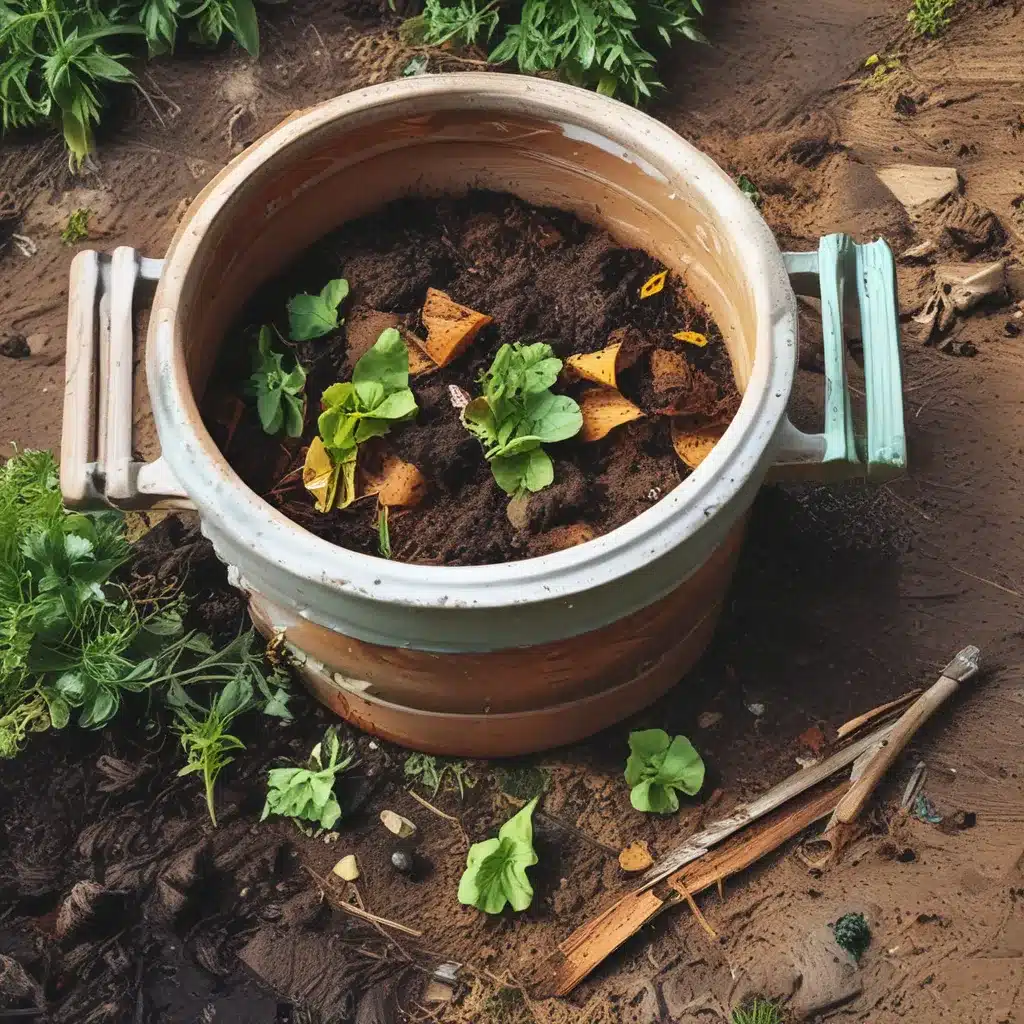
Last year, I embarked on a mission to turn my kitchen scraps into compost – that magical, nutrient-rich soil amendment that would transform my little garden into a verdant oasis. With great enthusiasm, I followed a DIY tutorial to create a simple compost bin from an old storage box. I diligently collected my food waste, added some shredded leaves and bark, and stirred the mixture regularly, all the while dreaming of the lush, healthy plants that would soon grace my backyard.
Alas, my compost dreams were dashed. After several months of effort, I ended up with a sludgy, fly-infested box of slime. Clearly, my composting skills needed some work. But I wasn’t about to give up – I was determined to crack the code and transform my kitchen scraps into gardening gold.
The Three-Step Compost Cocktail
Through further research and experimentation, I discovered that my initial compost bin was missing a crucial element – a well-designed, three-step composting process. This holistic approach is the key to unlocking the true potential of your food waste and creating nutrient-rich compost that will make your Thornapple CSA garden thrive.
Step 1: The Kitchen Scrap Collection
It all starts in the kitchen. I invested in a cute countertop compost bin that helps contain any unwanted odors and makes it easy to collect my food scraps throughout the week. I line the bin with 100% compostable bags, making it a breeze to empty into the outdoor bin when it’s full.
But what exactly should you be tossing in that bin? Well, the general rule is to compost anything thick or woody, like kale stems or onion ends, as they’ll break down faster if you chop them up first. However, you’ll want to steer clear of oils, fats, and other non-compostable items that can make your compost smelly and gross.
Step 2: The Outdoor Scrap Bin
Once my kitchen scrap bin is full, I take the waste out to my outdoor scrap bin – a simple 5-gallon bucket that serves as a holding area for a month’s worth of scraps. This is a crucial step that I haven’t seen mentioned in many composting guides before. By letting the scraps sit and stew in the bucket, they have time to break down a bit before being added to the main compost bin.
When the bucket is full, it’s time to create a “compost lasagna” in the main bin. This involves carefully layering the brown (carbon-rich) and green (nitrogen-rich) materials, making sure to include a bit of compost starter to help everything get decomposing. After a few days of resting, I open up the bin and give the layers a thorough mixing with a big shovel, allowing the air to circulate and the breakdown process to continue.
Step 3: The Finished Compost
After 4-6 weeks of regular mixing and turning, that slimy, stinky pile of waste begins to transform into something truly magical – black gold for my garden. I can tell the compost is ready when most of the individual scraps are no longer distinguishable, and the mixture has a rich, earthy aroma.
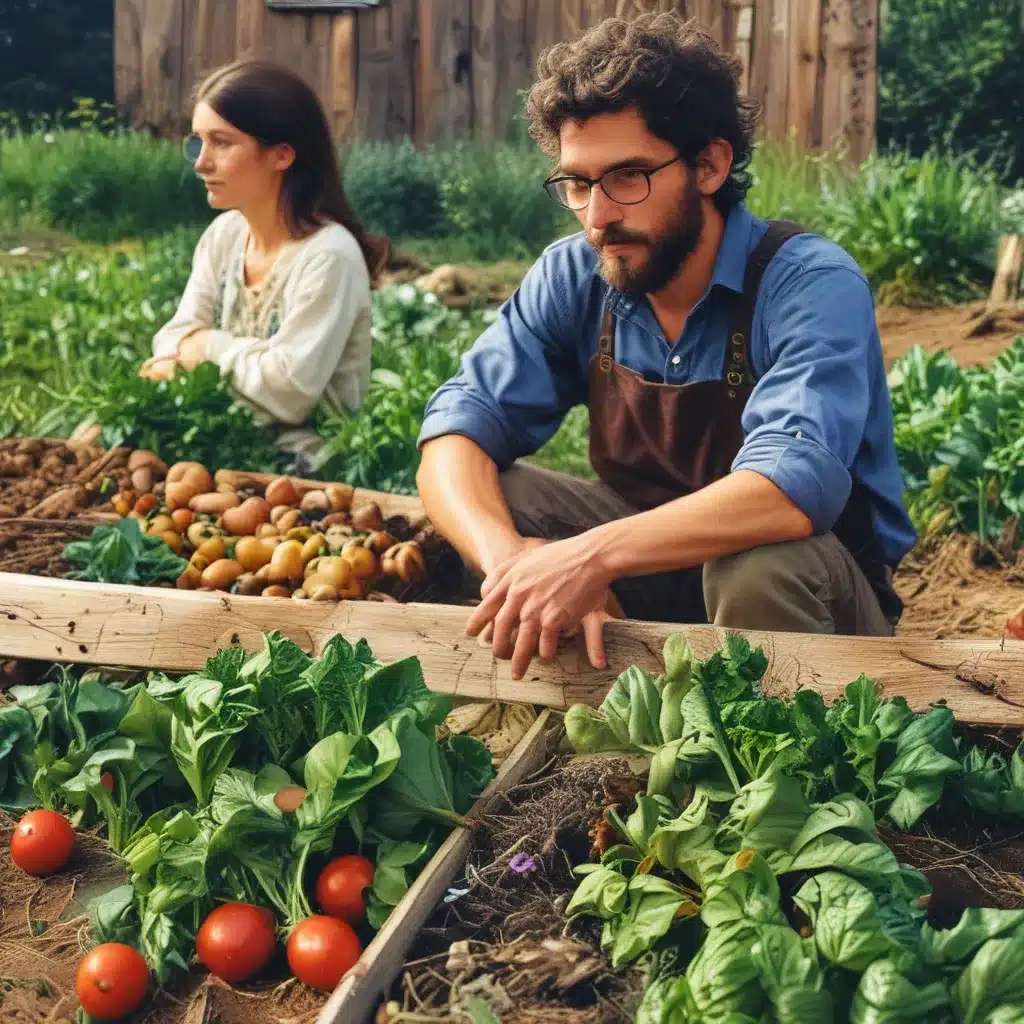
At this point, I simply transfer the whole bin’s contents to a dedicated compost pile in the corner of my yard. There, I can continue to turn and mix the compost, occasionally getting a little help from my backyard chickens. Once it’s fully cured, this nutrient-dense compost is ready to be worked into my garden beds, sprinkled on my lawn, or used as a top-dressing for my potted plants.
The Benefits of Backyard Composting
Composting is not just about turning your kitchen scraps into gardening gold – it’s also an incredibly eco-friendly practice that offers a host of benefits. By diverting your food waste from the landfill, you’re helping to reduce the amount of methane gas produced, which is a significant contributor to climate change.
According to the NRDC, food waste accounts for a staggering 21% of landfill contents by weight in the United States. By composting your scraps, you’re not only keeping them out of the landfill but also creating a valuable soil amendment that can dramatically improve the health and fertility of your garden.
Finished compost is a veritable treasure trove of nutrients and beneficial microorganisms that can work wonders for your plants. Mixing it into your soil will enhance its structure, water-holding capacity, and ability to support healthy root growth. And the best part? It’s completely free – just the natural byproduct of your kitchen waste decomposing.
Overcoming Composting Challenges
I know what you’re thinking – “But what about the smells and the pests?” Well, I’ve got good news: a properly managed compost bin shouldn’t attract any unwanted critters or create unpleasant odors. The key is maintaining the right balance of brown and green materials, keeping the moisture level just right, and regularly turning the pile.
If you do notice your compost bin starting to get a bit stinky, it’s probably due to an imbalance of materials. Try adding some more carbon-rich “brown” matter, like shredded leaves or paper, to balance out the nitrogen-heavy “green” kitchen scraps. And if you’re worried about attracting pests, consider burying your food waste or investing in a covered compost bin.
Of course, not everyone has the luxury of a backyard for their composting endeavors. But that doesn’t mean you’re out of luck! As the Zero Waste Chef advises, you can try convincing your landlord to set up a communal compost bin for your apartment complex. Or, if you have a small patio or balcony, explore options like bokashi composting, which allows you to break down your scraps indoors.
The Circle of Life: From Kitchen to Garden and Back Again
Composting is truly a beautiful example of the natural cycle of life. By transforming our kitchen waste into rich, nourishing soil, we’re not only reducing our environmental impact but also creating the perfect conditions for our gardens to thrive. And as those plants grow and flourish, they’ll eventually provide us with more delicious, nutritious food to fill our kitchens once again.
It’s a wonderfully symbiotic relationship, and one that I’m proud to be a part of. So, if you’ve been hesitant to try your hand at composting, I encourage you to take the plunge. With a little trial and error, you’ll be well on your way to creating your own backyard compost operation and enjoying the bountiful rewards in your garden.
Happy composting, my friends! Now, if you’ll excuse me, I’ve got some kitchen scraps to attend to.


