In this comprehensive guide, we will delve into the fascinating world of seed germination and explore the art of nurturing plants from their earliest stages to bountiful harvests. Whether you are a seasoned gardener or a beginner with a green thumb, this article will equip you with the knowledge and techniques to successfully germinate seeds and optimize your harvest. By following these step-by-step instructions, you will be able to cultivate healthy, thriving plants and enjoy the rewards of your labor.

Understanding Seed Germination
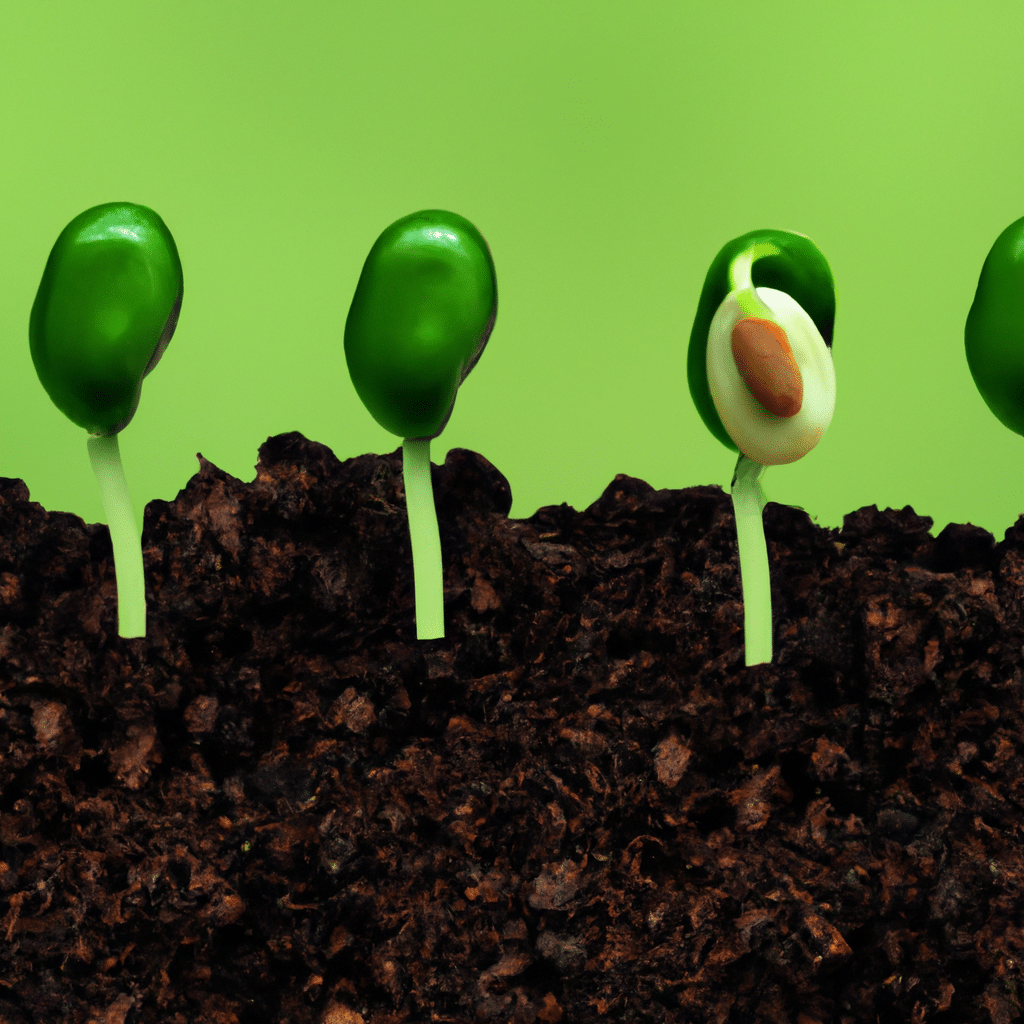
Seed germination is a crucial process in the life cycle of a plant. It is the awakening of a dormant seed, triggered by the right combination of moisture, warmth, and oxygen. During germination, the seed undergoes various biochemical changes that enable it to develop into a seedling.
To ensure successful germination, it is important to select high-quality seeds from reputable sources. Look for seeds that are plump, undamaged, and specifically suited to your desired plants. Additionally, consider the viability of the seeds by checking their expiration dates or conducting a simple germination test.
Preparing the Ideal Germination Environment
Creating the perfect environment for seed germination is essential for optimal results. Here are some key factors to consider:
Temperature
Different plant species have varying temperature requirements for germination. Refer to the seed packets or do some research to determine the ideal temperature range for your specific plants. Generally, most seeds thrive in temperatures between 65°F and 75°F (18°C and 24°C). Using a seedling heat mat can help maintain a consistent temperature, especially in colder climates or during the winter months.
Moisture
Proper moisture is vital for seed germination. Start by moistening the seed-starting mix or soil before sowing the seeds. Avoid overwatering, as it can lead to rot or fungal growth. Covering the containers with a plastic dome or using a plastic bag can help retain moisture until the seeds germinate. Once the seedlings emerge, remove the cover to prevent excessive humidity, which can promote disease.
Light
While some seeds require darkness to germinate, others need light to kick-start the process. Check the seed packets or conduct research to determine the light requirements of your chosen plants. If light is necessary, ensure the seedlings receive adequate exposure by placing them near a sunny window or using artificial grow lights.
Oxygen
Seeds need oxygen to respire and initiate germination. Avoid compacting the soil or seed-starting mix too tightly, as it can limit air circulation around the seeds. Good drainage is also crucial to prevent waterlogged conditions that can suffocate the seeds.
Sowing Seeds: Step-by-Step Guide
Now that we have covered the basics, let’s dive into the step-by-step process of sowing seeds and nurturing them towards successful germination:
Step 1: Selecting Containers
Choose containers that are clean, sterilized, and have drainage holes to prevent waterlogging. You can use seed trays, peat pots, or recycled containers, ensuring they are at least 2-3 inches deep to accommodate the developing roots.
Step 2: Preparing the Growing Medium
Fill the containers with a high-quality seed-starting mix or a well-draining soil mixture. Avoid using garden soil, as it may contain pathogens or be too heavy for young seedlings. Moisten the mix before sowing the seeds.
Step 3: Sowing the Seeds
Follow the instructions on the seed packets for optimal seed depth and spacing. Generally, seeds should be planted at a depth twice their size. Gently press the seeds into the soil, ensuring good seed-to-soil contact.
Step 4: Providing the Right Conditions
Place the containers in a warm, well-lit area, following the temperature and light requirements of your chosen plants. Maintain consistent moisture by misting the soil or using a spray bottle. Avoid overwatering, as it can lead to fungal issues or rot.
Step 5: Monitor and Care for Seedlings
Regularly check the containers for signs of germination. Once the seedlings emerge, ensure they receive adequate light and adjust the temperature if necessary. Water the seedlings from the bottom to prevent disturbing the delicate roots. As the seedlings grow, thin them out if overcrowding occurs.
Transplanting Seedlings
As the seedlings develop, they will outgrow their initial containers and need to be transplanted into larger pots or the garden. Here are some key tips for successful transplanting:
Timing
Wait until the seedlings have developed a strong root system and a few sets of true leaves before transplanting. This will ensure they are robust enough to withstand the transplant shock.
Hardening Off
Before transplanting seedlings into the garden, gradually acclimate them to outdoor conditions. Start by placing them in a sheltered spot for a few hours a day, gradually increasing their exposure to sunlight and wind over the course of a week.
Digging the Hole
Prepare the soil in the garden bed by loosening it and removing any weeds or debris. Dig a hole slightly larger than the root ball of the seedling and gently place it in, ensuring the soil level matches that of the container. Backfill the hole and lightly press the soil around the seedling to remove air pockets.
Watering and Mulching
After transplanting, water the seedlings thoroughly to help them establish in their new environment. Applying a layer of organic mulch around the base of the plants will help retain moisture, suppress weeds, and regulate soil temperature.
Conclusion
Congratulations! You have now mastered the art of seed germination and learned how to nurture your plants from seed to sprout. By following the guidelines outlined in this comprehensive guide, you can ensure the successful growth and abundant harvest of your garden. Remember to provide the ideal conditions for germination, sow seeds with care, and transplant seedlings with precision. With dedication and patience, you will be rewarded with a flourishing garden that fills you with pride and joy. Happy gardening!


