Reconnecting with the Earth’s Natural Cycles
As a lifelong gardener, there’s nothing quite like the feeling of watching a tiny seed sprout and blossom into a vibrant, nourishing plant. It’s a magical process that connects us to the rhythms of the natural world – and one that I’m passionate about preserving through the ancient art of seed saving.
Sure, it might be easier to simply buy new seeds each spring from the local garden store. But where’s the fun in that? By taking the time to harvest and store our own seeds, we don’t just save money – we also become active participants in the ongoing story of our gardens, tapping into a rich heritage of growing and self-sufficiency.
In this comprehensive guide, I’ll be sharing my top tips and tricks for getting started with seed saving. Whether you’re a seasoned pro or a complete beginner, you’ll discover the joys and benefits of preserving the past while growing for the future. Let’s dive in!
The Thrifty Gardener’s Delight
Gardeners, as a rule, tend to be a pretty thrifty bunch. We know the value of making the most of what we have, which is why seed saving just makes so much practical sense. As the good folks at The Old Farmer’s Almanac put it, “Seed-saving helps to preserve heirloom varieties and promotes genetic diversity.” And let’s be honest, who doesn’t love a little extra cash in their pocket?
But the rewards of seed saving go far beyond the financial. When you grow plants from your own saved seeds, you’re forging a deep, personal connection to the earth and its natural cycles. It’s like having a secret handshake with Mother Nature herself! Plus, there’s just something incredibly satisfying about watching a plant grow from a seed you harvested with your own two hands.
I’ll never forget the time I saved a few seeds from a particularly juicy heirloom tomato, only to watch them sprout into the most delicious and prolific plants the following season. It was like a little piece of culinary magic, and it all started with that one tiny seed. Talk about a thrifty gardener’s delight!
Mastering the Basics
Okay, so you’re convinced – seed saving sounds like a pretty neat hobby. But where do you actually start? Well, my friends, let me break it down for you.
The first and most important rule of seed saving is to focus on open-pollinated, non-hybrid varieties. As The Almanac explains, hybrid plants are the result of intentional cross-pollination, which means their seeds won’t necessarily produce plants that are true to the parent. Open-pollinated varieties, on the other hand, will grow plants that are genetically identical to the original.
Some of the easiest open-pollinated veggies to start with include tomatoes, peas, beans, and peppers. As this handy video demonstrates, the seed-saving process for these crops is relatively straightforward – just let the fruits or pods fully ripen, extract the seeds, and dry them out before storing.
Other crops, like cucumbers, melons, and squashes, can be a bit trickier since they’re prone to cross-pollination. But with a little extra care and attention, you can still save their seeds successfully. The key is to isolate your plants from any potential cross-pollinators, either by caging them or planting them a good distance apart.
Of course, no seed-saving guide would be complete without a word of caution about biennials. As The Almanac points out, crops like cabbage, carrots, and onions take two full seasons to set seed – a process that can get quite complicated. As a beginner, it’s best to steer clear of these until you’ve got a few seed-saving seasons under your belt.
Heirlooms and Hybrids: A Cautionary Tale
Speaking of tricky crops, let’s talk a bit more about the difference between heirlooms and hybrids. As I mentioned earlier, heirlooms are the way to go when it comes to seed saving, as their seeds will reliably produce plants that are true to type.
Hybrids, on the other hand, can be a bit of a gamble. These plants are the result of intentional cross-pollination between two different parent varieties, often with the goal of creating a superior trait like increased yield or disease resistance. And while the resulting hybrid plants may be spectacular, their seeds won’t necessarily produce the same quality of offspring.
I learned this lesson the hard way a few years back when I decided to try growing some of those fancy hybrid tomatoes from the garden store. The fruits were massive and juicy, and I couldn’t wait to save a few seeds for the following season. But when I planted them the next year, the resulting plants were a bit of a disappointment – smaller, less flavorful, and overall less productive than their hybrid parents.
Needless to say, I quickly returned to my trusty heirloom varieties, which not only provided me with consistently delicious harvests but also allowed me to save seeds with confidence, knowing that I’d be preserving the unique genetic lineage of those plants. And let me tell you, there’s nothing quite like the satisfaction of watching those familiar faces sprout up year after year.
Seed Saving in Action
Okay, so you’ve got the basics down – now let’s talk about the nitty-gritty of seed saving in action. As I mentioned earlier, the process can vary a bit depending on the crop, but there are a few general guidelines to keep in mind.
First and foremost, it’s important to choose the healthiest, most robust plants from which to save your seeds. As The Almanac advises, “Do not save seed from weak or off-type plants.” After all, the whole point of seed saving is to perpetuate the best genetic traits, so you want to make sure you’re starting with the cream of the crop.
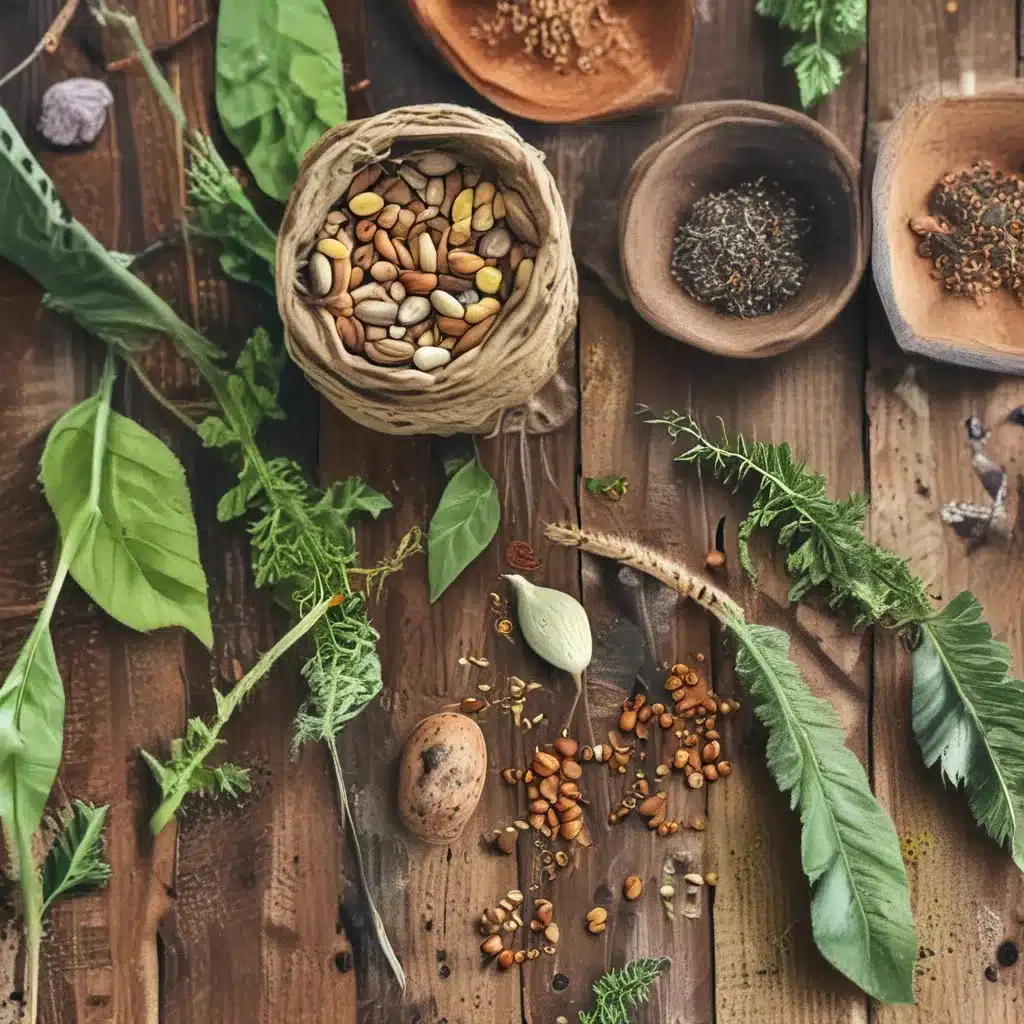
Once you’ve identified your seed-worthy plants, it’s time to let them fully ripen and mature. This might mean leaving those tomatoes on the vine a little longer than you normally would, or allowing your bean pods to dry out completely on the plant. The goal is to wait until the seeds are at their peak of ripeness and viability.
Next up is the tricky step of seed extraction and preparation. As this helpful video demonstrates, some crops like tomatoes and cucumbers have a gel-like coating around their seeds that needs to be removed through a process called fermentation. Other seeds, like those from radishes or lettuce, can simply be left to dry on the plant before harvesting.
Finally, once your seeds are clean and dry, it’s time to store them properly for the long winter ahead. As The Almanac advises, the key is to keep them in a cool, dry place – an airtight container in the fridge or freezer works great. With proper storage, many seeds can remain viable for years, ensuring that you’ll have a bountiful harvest for seasons to come.
Seed Saving: A Gateway to Gardening Greatness
As I reflect on my own seed-saving journey, I can’t help but feel a deep sense of gratitude for the knowledge and traditions that have been passed down through the generations. It’s a practice that not only saves me money and connects me to the rhythms of the natural world, but also empowers me to play an active role in preserving the incredible diversity of our plant life.
And let me tell you, there’s nothing quite like the thrill of watching those first few sprouts emerge from seeds you’ve meticulously saved and stored. It’s a feeling of accomplishment and wonder that just can’t be replicated by simply buying a new packet of seeds each spring.
So if you’re looking to take your gardening skills to the next level, why not give seed saving a try? The team at Thornappple CSA would be more than happy to share their own tips and tricks, and to connect you with a vibrant community of like-minded gardeners who are passionate about preserving the past and growing for the future.
Who knows – seed saving might just be the gateway to gardening greatness that you’ve been searching for all along. So what are you waiting for? Get out there, get your hands dirty, and start saving those seeds!
