The Seed Starting Rite of Passage
As the first hints of spring awaken in the air, the gardening world erupts into a frenzy of seed starting fever. It’s a rite of passage I look forward to every year – fingering through the dizzying selection of seed packets, admiring their vibrant covers, and carefully planning my growing season.
If I don’t have at least a hundred seed packets stacked up, ready to be sown, I start feeling a bit restless. I find myself browsing more seed catalogs, enticed by the endless varieties and enticing descriptions. But with seed packets often costing $5 or even $6 these days, I’ve learned to choose my seeds with a bit more discernment.
The Secrets to Successful Seed Starting
While it may seem as simple as tossing some seeds into potting soil and placing them in a sunny window, there’s a bit more to it if you want to be a truly successful transplant grower. Over the years, I’ve fine-tuned my seed starting process and accumulated a few inexpensive pieces of essential equipment that have made all the difference.
Lighting is Key
My most important piece of equipment is a homemade PVC light stand for my grow lights. Following easy, inexpensive directions, I put this together myself, and it’s been a game-changer. Sure, you can try to rely on windowsills, but a light hung just a few inches above your seedlings is vastly superior and will ensure your seedlings stay nice and stocky, not thin and spindly.
I opt for simple LED shop lights, as they provide a much stronger light than fluorescents. And with so many cloudy winter days, my seedlings need all the light they can get to thrive.
Maintaining Ideal Soil Conditions
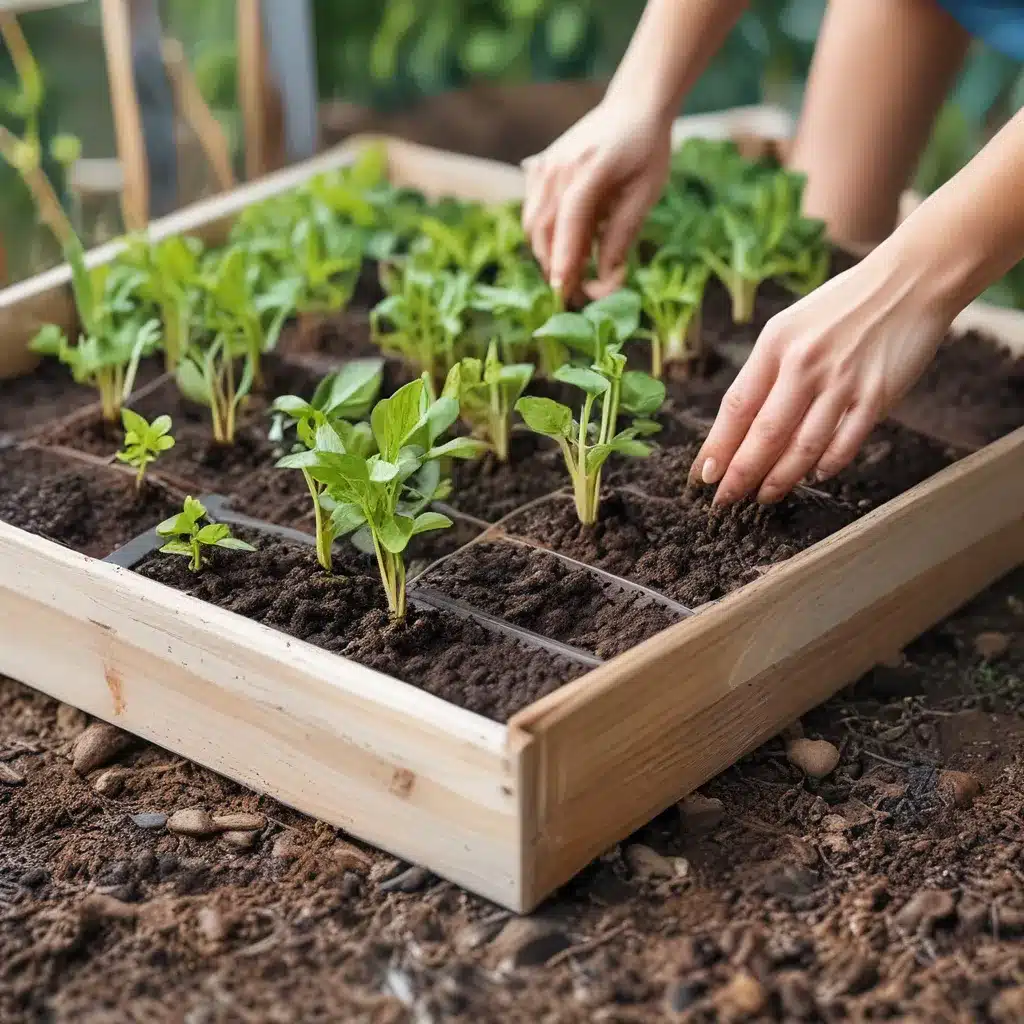
In addition to proper lighting, providing the right soil conditions is crucial for seed germination and seedling health. I start with a sterile, soilless seed starting medium, which I often source in the form of compressed soil blocks or peat-based mixes like Pro-Mix. These lightweight, airy mediums help prevent the dreaded “damping off” disease that can quickly wipe out an entire crop of seedlings.
To further stave off damping off, I make sure to keep everything – my soil, containers, and trays – scrupulously clean. I wash everything with a dilute bleach solution before each use. And I’ve found that sprinkling a bit of cinnamon, turmeric, or cayenne on top of the soil can also help.
Proper watering is also key. I like to use a fine-misted watering can or even a simple gallon sprayer to gently hydrate my seedlings without disturbing them. Overwatering is one of the most common causes of seedling failure, so I err on the side of caution.
Providing Optimal Temperatures
Many seeds also benefit from a little bottom heat to speed up germination. I use inexpensive heat mats, which I carefully monitor to make sure I don’t “bake” my seedlings once they’ve sprouted. As soon as I see those first tiny leaves poking through, I remove the heat mats.
Choosing the Right Containers
When it comes to containers, I’ve experimented with all sorts of options. Traditional plastic seed trays with individual cells work great, as they allow each seedling to develop its own robust root system. But I also love using biodegradable options like newspaper pots or CowPots – a family-owned, American-made product crafted from recycled, renewable cow manure. These pots can be planted directly into the ground, minimizing transplant shock.
Overcoming Common Seed Starting Challenges
Despite my best efforts, I still lose the occasional seedling. The most common culprit? Overwatering. It’s a delicate balance, ensuring my seedlings stay consistently moist without becoming waterlogged. I’ve learned to be very cautious and to check the soil before watering, rather than adhering to a rigid schedule.
Another challenge I’ve encountered is dealing with limited indoor growing space, especially during those early spring months when seedlings need the most attention. That’s where smart planning and strategic seed ordering come into play. I try to focus on growing only the quantities I know I’ll need, rather than getting carried away and ending up with far more seedlings than I have room for.
The Joys of Seed Starting
Despite the occasional hiccup, I find the entire seed starting process to be immensely rewarding. There’s something truly magical about watching those tiny seed packages unfurl into vibrant, healthy plants, ready to be transplanted into the garden.
And the benefits of starting your own seeds go beyond just the joy of nurturing these little miracles. It opens up a whole world of growing possibilities, allowing you to experiment with rare or unusual varieties that you simply can’t find at the local nursery. Plus, it’s a much more cost-effective way to stock your garden, especially when it comes to prolific annuals like zinnias or marigolds.
So if you’re feeling the itch to get a head start on the growing season, I encourage you to dive into the world of seed starting. With a little bit of preparation and the right equipment, you’ll be well on your way to reaping a bountiful harvest – and having a whole lot of fun along the way.


