Potatoes, Potatoes Everywhere
There’s something about a hoard of potatoes that makes me feel safe. Let me explain. As someone who raises and grows food with the intent of feeding the family year-round, I find myself focusing on those foods that can be grown in large quantities and that store well – long past their harvest date. Root crops are the first to come to mind: carrots, beets, rutabagas, and of course, potatoes.
All of these, and more, have long been valued for their ability to be stored for many months. And after months of eating fresh from the garden, there’s something very special about being able to pull out a basket of potatoes in January and still be able to indulge in that blissful feeling of bringing garden produce to the table in its original form – despite there being several feet of snow covering the ground outside.
With every garden season that comes and goes, I’ve learned to place a lot of focus on growing a lot of what gets us through the dormant season. While I love a fresh salad, and I grow it as early and as late as possible, I cannot store lettuce. Therefore, I grow only what we can eat while it’s in season and instead offer up as much growing space to crops like potatoes.
Potato Planting Perfection
Now, I’m sure you’ve seen all the methods out there for growing potatoes. Everything from growing them in towers to bags to stacked-up tires to raised beds and in-ground. So many thoughtful, creative ways. And I have quite literally tried them all – yes, all of them. I was romanced by the Pinterest images of elaborate wood structures where you carefully remove one board from the bottom to harvest the largest potatoes. Super easy bags of dirt and easily harvested tubers. Towers made of fencing with layers of straw and compost. I have done it all.
But there’s one thing I’ve learned if you want to grow lots of potatoes – and lots of large potatoes – they need a few key things in order to do so. That is what we’re going to discuss today.
Room to Grow
First, let’s talk about size. If you want to grow big potatoes, you absolutely have got to give them the room they need to get big. This means planting your seed potatoes 12-14 inches apart. No exceptions. This is why bags, towers, and the like often fail or only produce either small numbers of potatoes or just small potatoes in general. They cannot offer the planting distance necessary for growing lots of big potatoes. The closer together you plant your seed potatoes, the smaller the potato you will get.
But give them the room they need, and you will be rewarded with big potatoes. My plants all regularly offer up 1 1/2- to 2-pounders and multiples of them. Every single plant. So just give them some room, don’t skimp. I personally space all of my plants 12 inches apart.
A note on seed potatoes: if you have large seed potatoes, you can cut them down and get several plants from it. Aim for pieces that are the size of a chicken egg with at least 1 – preferably 2 – eyes. Allow the cut side to dry in the sun for about an hour before planting to form a scab over the cut surface, which will help prevent rot or other issues underground. Plant them!
Plant Them Deep
Another important factor in growing lots of big potatoes is that they need to be planted deep. I dig a trench that is 12 inches deep and place my seed potato at the bottom. They are then back-covered with 4-6 inches of loose, well-draining soil that is rich in organic matter. This gives them lots of wiggle room and a greater area for shoots to form in. As the plants emerge, I continue to back-fill in the trench, burying the plant by at least half or even up to its top leaves.
Throughout the growing season until flowering, I will actually haul in compost and composted manure to further mound up and bury the plants. The more surface area of dirt they have to thrive in, the better they will produce for you.
Good Drainage
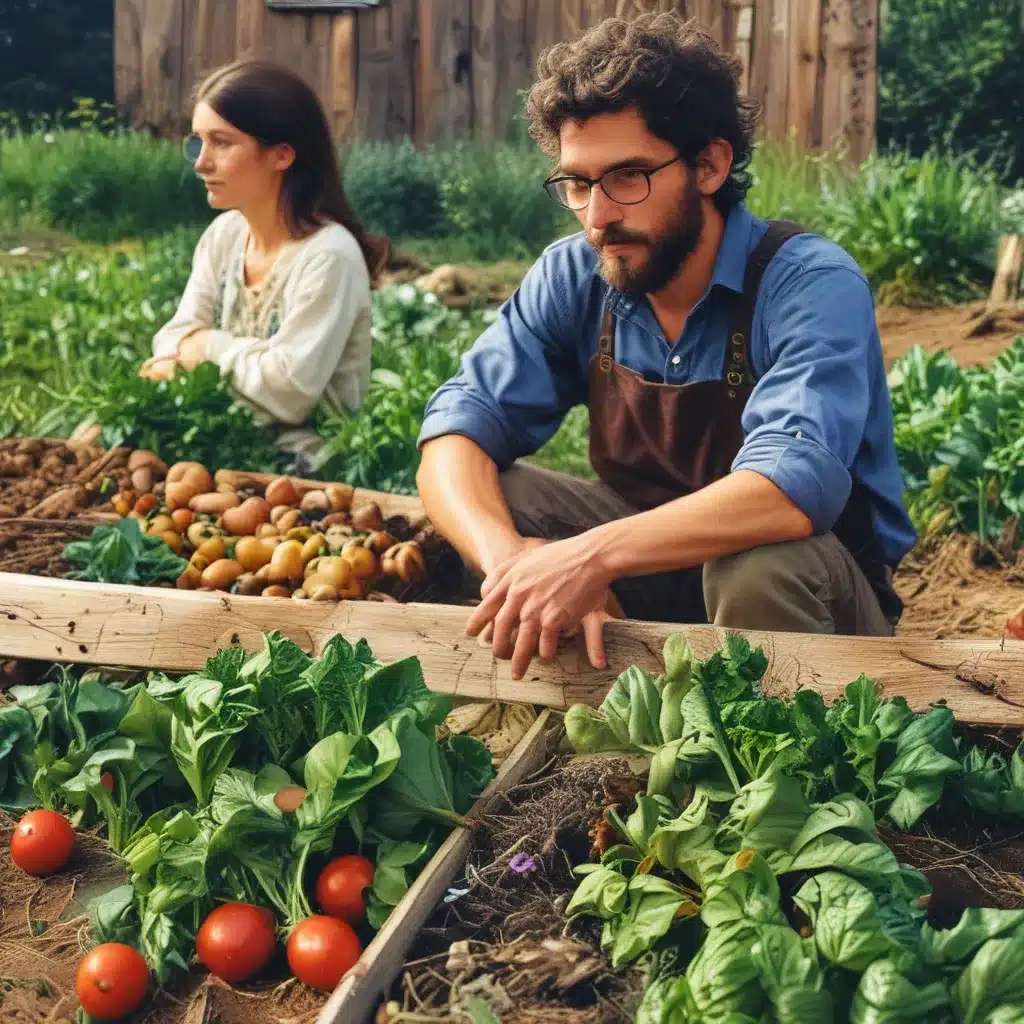
This applies to both the type of soil you are growing your potatoes in, as well as the location and planting vessel, whether in-ground or raised bed, you are planting them in. If you know me, you know I’m a long-time cheerleader of hugelkultur gardening. And hugelkultur beds are famous for growing great potatoes for many reasons. Not only do they heat up sooner in the spring, which means you can plant sooner, but they have excellent drainage.
The problem that can arise with growing in the ground when it comes to potatoes – or really any crop – is when you have a particularly wet season. If you find yourself with a rainy stretch and your soil does not have good drainage, your potatoes will rot right in the ground. However, if you have soil with a high content of organic matter and you have made it a point to never walk where you plant, therefore avoiding compacted soil that does not drain so well, planting potatoes in the ground can work just fine for you.
But if you know that you have soil that does not drain well, compacted clay, etc., and especially if you live where rainy seasons are common, I would advise planting above ground in either a raised bed or in a hugelkultur bed – both should have well-draining soil, of course, to avoid rot.
Nutrition
Along with room to grow, planting deep, and good drainage, your potato plants need some pretty vital nutrients if you want to grow a big crop. The one thing I’m always sure to add at planting time is bone meal. Bone meal offers up phosphorus and calcium to potato plants. Phosphorus is instrumental in both potato yield and quality, so don’t skip out on this part.
The great thing about bone meal is it is a slow-release type of fertilizer, which means it’s hard to over-do it. I sprinkle about 1/4 cup right where I will be placing my seed potato. So drop the bone meal and place your seed directly on top of it. This is the only time I use bone meal through the growing season.
But because potatoes also require quite a bit of nitrogen, I side-dress and bury my growing plants with composted manure as I mentioned earlier. These two very simple things are all I need nutritionally to grow really productive plants. If you’ve been doing these things but have had trouble in the past, I would highly recommend a soil test. Even if it’s just a cheap DIY pH test kit you can buy at the hardware store or garden center. Potatoes prefer a more acidic soil, ranging from 4.8-6.5. If you find that your soil is more on the alkaline side, work in some sphagnum peat moss.
Mulch, Mulch, Mulch
And because I’m a true permie at heart, I will always, always, ALWAYS recommend that you cover your soil. I’ve groaned about the crazy unnatural naked ground thing in the past. Nature always keeps the ground covered in some way. Even sidewalks can’t escape the dandelions, nor can driveways rid themselves of purslane and crab grass. Your garden’s soil should be protected from the sun, the rain, and the wind. Because if you don’t, nature will do it for you – in the form of weeds, just as it does everywhere else, yes, even the sidewalk.
My favorite mulch to use to cover up everything is the straw bedding from my ducks and sheep, which come with a bonus side of nitrogen thanks to their manure. I pile it up in the spring after cleaning out their sheds and use it throughout the season after planting or any time a little more protection is needed. Not only does mulch protect against the elements, but it helps keep your plants cooler when the sun is blazing, protected when the temps drop, and helps maintain moisture and keeps it from evaporating – thus requiring less frequent watering and much happier plants. Potatoes require a decent drink of water to keep them happy, so keep them covered up and make sure they don’t get dried out.
Hill, Hill, Hill
You can continue to add compost and/or manure or hill up around your plants until you start to see flower buds forming – for me, this usually means about 3 times of adding and/or hilling. These flowers are a sign that potatoes are being formed, and you do not want to disrupt the roots with your raking. So back off and enjoy.
At this point, I focus on watering and waiting. About two months after planting, I will usually dig my hand down and find the first potato just to see how they are coming along. And throughout the growing season, this is how I will harvest and why I love deep, loose, rich soil in my hugelkultur beds. I will dig around the bottom perimeter of the plants’ roots to find the biggest tubers and harvest just those. I don’t pull the entire plant until they are done for the season. That way, the plant can continue to produce, and the smaller potatoes can continue to grow.
Harvest and Storage
So if you are looking to grow potatoes for storage, you need to know when is the best time to harvest them. If you pull potatoes while the plant is still green and growing, you will notice that their skins are very thin – they often come right off when you are scrubbing them clean in water. These are known as new potatoes and are extremely delicious – but their skins are not adequate for protecting them for long-term storage.
Instead, wait for your plants to die off. I usually wait 2-3 weeks after the plants have started dying back before I harvest them. When you’ve decided you want to harvest all of your plants for storage, choose a dry day. Better yet – after you’ve had a stretch of dry days.
If you’re growing potatoes in nice, loose soil, you can pull the plant by hand and shake the potatoes off of it. I definitely prefer pulling by hand as opposed to using a fork or shovel because you don’t want to pierce the tubers. However, if your soil isn’t loose enough to pull the plants by hand, then just be very careful/gentle when using a tool to pry the plant up. Try to get underneath it as best you can and check over the potatoes, setting aside any that got damaged for immediate use rather than storage.
At this point, potatoes need to undergo a curing process before storing. Move them to a space that is dry, dark, with good airflow and humidity. I use my enclosed porch for this. Lay them out on newspapers or sheets of cardboard or on drying racks in a single layer and let them sit there for two weeks.
After the curing process is complete, I will brush off any excess dirt (do not wash them with water) with my hands and then start to transfer them to their storage boxes. These are in the form of produce boxes that I pick up at our local co-op, as well as milk crates and bushel baskets – any vessel that can breathe and hold weight.
I will put a sheet of newspaper in the bottom, layer them in a single layer, then top with another sheet of newspaper and another layer of potatoes. I usually stick to only 2-3 layers deep in each container. This is because I try to regularly (once a month) check on my potatoes in storage through the winter to pull out any that have gone bad. I also arrange my potatoes by size and mark each box accordingly. That way, if I’m looking specifically for small potatoes, I can readily see where to find them. Likewise with medium or large potatoes.
They are then stored in my basement crawlspace for their long-term storage. Ideally, you want a space that is dark, dry, well-ventilated, and humid – and around 40-45 degrees. Obviously, you don’t want them to freeze, so an unheated garage might not be a good idea – unless it doesn’t get that cold where you live, in which case an unheated garage might be perfect. My crawlspace isn’t quite that cold; it is more in the low 50s. But even at that temperature, I am able to keep potatoes all the way until spring and usually only have to wait a month or two until the garden starts giving up potatoes come the first of July. In the meantime, we survive on our canned potatoes, which is another great way to store them.
Potato Planting Power
So I know you’re just dying to ask – even after all the details on how to grow your best potato crop yet – but Erin, how did you know how much to plant in order to grow 600 pounds of potatoes? And what in the world do you need 600 pounds of potatoes for?
Great question. Or questions. First of all, to estimate the number of seed potatoes needed in order to grow your target goal, think of it in these terms: for every 1 pound of seed potatoes planted, the average yield is 10 pounds of potatoes harvested. For me, using the above-described methods, I know that my typical yield is conservatively 20 pounds of potatoes for every 1 pound of seed. Sometimes more, but I like to lean toward the conservative end to make sure that I at least reach my goal. Anything more is just bonus.
That means I have to plant 30 pounds of seed potatoes to yield 600 pounds of potatoes.
Why is 600 pounds my number? Well, I have a family of 5 for one. And we like potatoes. And we really depend on potatoes to get us through the winter. I don’t want to have to pay the high cost of organic potatoes should we run out (you can read more about why I’m super strict on organic-only potatoes, no exceptions, if you’d like). But also, we love eating fresh new potatoes straight from the garden all growing season long.
Therefore, I wanted to plant enough potatoes where I could eat them all summer without feeling like I was taking away from what we would need to store for winter, and I wanted to be able to eat as many potatoes as we wanted all winter long without running out. It may take you a couple of seasons to figure out your own family’s needs. We started out by storing 200 pounds, then 350, then 450. It took a few tries to find what we really actually needed. And as the kids grow, that number could change.
So there you have it – all of the secrets, although they really are not secrets at all. For all of you who have followed me for some time and have asked me how in the world I did it, only to discover that it takes just 30 pounds of seed potatoes to do so – and not a whole heck of a lot of space, either.
Just remember: give your plants the width and depth they need to produce big numbers for you, as well as the proper nutrients and soil conditions. Hill them up, but stop hilling once they flower. Keep them watered and mulched, and you will certainly be rewarded. And if you’d like to learn more about how you can have your best growing season yet, grab my free eBook below. I go into detail on how to feed and thus build your soil, creating compost, garden design elements to consider, maximizing your growing space, companion planting, successive planting, and more.
Now get on out there and have an incredible season. I’ll be right here, cheering you on! Thornpple CSA is always here to support your sustainable harvest.


